

Portrait Drawing for Beginners: Face Proportions and Shading

Drawing a face that actually looks like the person is a goal for many art students. The secret is not talent but a few reliable guidelines. This guide to portrait drawing for beginners explains simple face proportions, a step-by-step method, how to shade skin and hair, and the materials that make portraits easier.
Basic face proportions
Every face is different, but these average guidelines give you a strong starting point for a face seen from the front. Measure your subject and adjust from there.
- The eyes sit roughly halfway down the head, not near the top as many beginners draw them.
- The face divides roughly into thirds: hairline to eyebrows, eyebrows to the bottom of the nose, and nose to chin.
- The space between the eyes is about one eye width.
- The bottom of the nose sits about halfway between the eyes and the chin.
- The corners of the mouth often line up roughly below the pupils.
- The ears usually sit between the eyebrow line and the bottom of the nose.
How to draw a face, step by step
- Draw a light oval for the head and a vertical line down the centre.
- Add a horizontal line halfway down for the eyes.
- Mark the eyebrow line, the bottom of the nose and the mouth using the proportions above.
- Sketch the eye shapes, then the nose and mouth, checking spacing against your subject.
- Add the ears, neck and hairline.
- Erase guidelines lightly, then refine the shapes.
- Shade from light to dark, and finish with highlights in the eyes and hair.
Shading skin and hair
- Skin: use soft, even layers with small circular strokes, then blend gently with a stump. Skin has gradual changes, so avoid harsh outlines.
- Eyes: keep a small white highlight in each pupil; lift it with an eraser pen or add it with a white gel pen.
- Hair: shade the big dark shapes first, then draw strands in the direction the hair grows. Lift a few highlights to show shine.
- Shadows: the darkest areas are usually under the chin, inside the nostrils, between the lips and in the eye sockets.
Materials for portrait drawing
- Pencils: HB for the outline, 2B–4B for mid-tones and 6B–8B for darks. The Graphite Drawing Pencil and NYONI Drawing Pencil are sold by grade.
- Blending: Nyoni Blending Stumps for smooth skin tones.
- Highlights: an eraser pen or a White Gelly Roll 05. See our white gel pen guide.
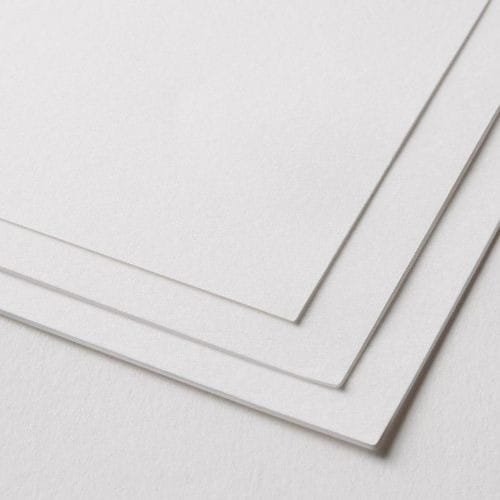
- Paper: Fabriano Accademia A3 200gsm or 240gsm takes many layers.
- Clean hands: an anti-smudge mitten keeps shaded areas clean.
Prices change, so see each product page for today’s price. For more on shading, see our pencil shading techniques guide, or try portraits in charcoal with our charcoal drawing guide. Browse all drawing pencils.
Practice tips
- Draw from photos at first; they don’t move. Then try drawing a family member.
- Practise eyes, noses and mouths separately before full faces.
- Turn your drawing and your photo upside down to spot mistakes in shapes.
- Step back often; errors are easier to see from a distance.
- Draw the same face several times. Each attempt teaches you something new.
Frequently asked questions
Why does my portrait not look like the person?
Usually the spacing is slightly off. Check where the eyes sit and the distances between eyes, nose and mouth, rather than the details.
Which pencils are good for portraits?
A small range from HB to 6B or 8B covers most portraits, with a blending stump and a kneadable eraser.
Can I draw portraits in colour?
Yes. Colour pencils and pastel pencils in skin tones work well. See our colour pencils guide.
Do you deliver islandwide?
Yes. We deliver across Sri Lanka in 2–5 working days, with cash on delivery, card or bank transfer. You can also visit our shops in Boralesgamuwa and Horana, open every day from 9 AM to 6 PM.
Not sure what to choose? WhatsApp the Haanz team on 0711 515 515 and we’ll help you put together a portrait drawing kit.
More Haanz Art Guides
 Outdoor and Urban Sketching: A Simple Kit and How to StartRead the guide →
 White and Black Paint Explained: Titanium, Zinc, Lamp and MarsRead the guide →
 Painting with Toddlers: Easy, Mess-Managed Art ActivitiesRead the guide →
 How to Colour Resin: Mica Powder, Alcohol Ink and GlitterRead the guide →