

Drawing Maps and Diagrams for School Projects

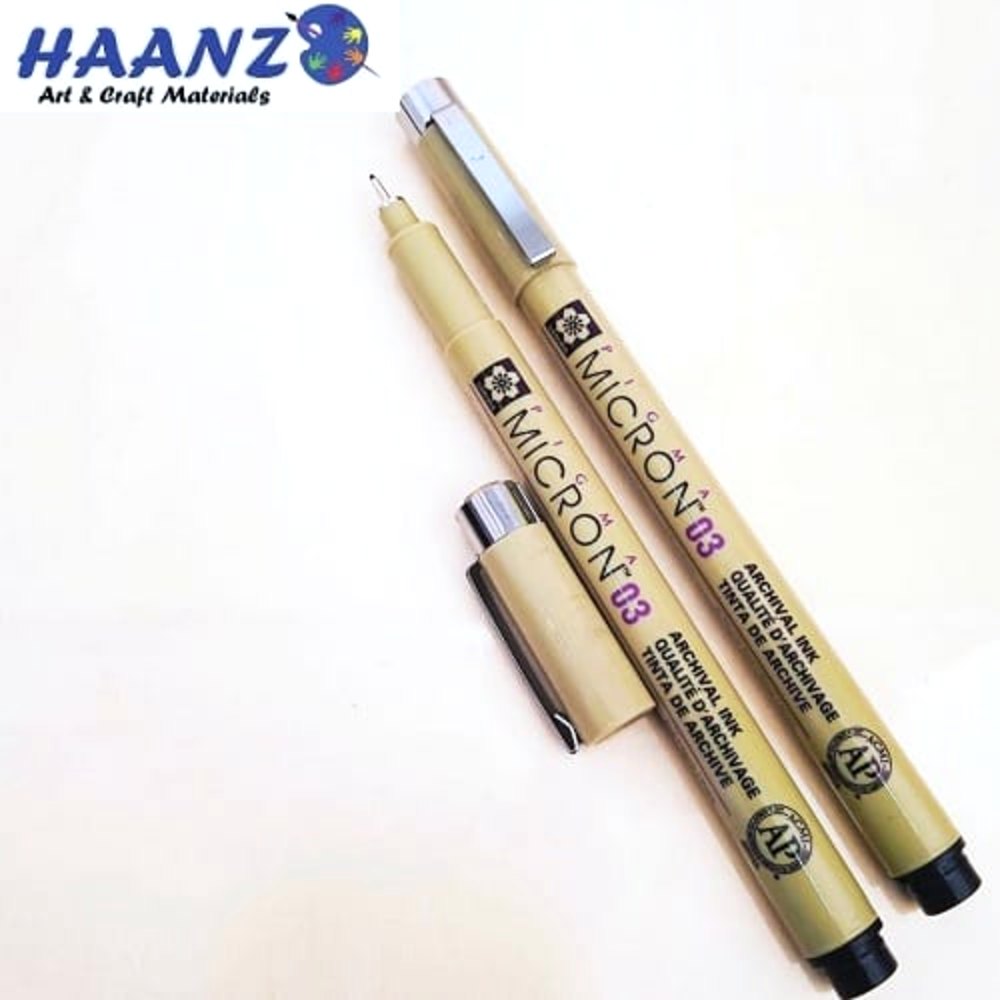
Neat maps and diagrams for school projects make your work easier to understand and help you earn marks for clear presentation. Whether it is a map of Sri Lanka’s rivers for geography, a plant cell for science or a flow chart for a project file, the same simple habits apply. This Haanz Art Guide covers the tools to use, step-by-step methods for maps and labelled diagrams, and the small details teachers look for.
Tools you need
- Fineliner pens: Sakura Pigma Micron -03 (0.35mm) is a good all-round size for outlines. Use Sakura Pigma Micron -01 (0.25mm) for small labels and fine details. Pigma Micron ink is archival and waterproof once dry.
- A mechanical pencil: the Pentel Mechanical Pencil 0.5mm – AL405N-PV keeps a fine, even line for planning without sharpening.
- Tracing paper: Tracing Paper – A4 lets you copy an outline map accurately and transfer it to your project page.
- Colour pencils: the Camel Colour Pencil Set -12 is enough for most maps and charts.
- Geometry tools: a Set Square 6435 – 33cm for straight lines and right angles, and the Hushang Compass Model No:6900 for circles in pie charts and diagrams.
- Eraser and paper: a clean Mont Marte Artist Eraser – Small and a pad such as the Bomeijia Sketch Pad -A4 160Gsm, 24Sheets for practice sketches.
Find more pens in Drawing Pens and pencils in Colour Pencils. Prices change, so see each product page for today’s price.
How to draw a map step by step
- Find a reliable outline. Use your textbook or atlas as a guide, as your teacher allows.
- Trace the outline. Tape tracing paper over the map, and trace the coastline and borders with a sharp pencil.
- Transfer it. Turn the tracing paper over, shade along the lines on the back, turn it right way up on your project page and draw over the lines again. A light copy appears below.
- Ink the outline. Go over the main outline with a 0.35mm fineliner. Use a thinner pen for rivers, roads and smaller borders.
- Add colour lightly. Use common map colours: blue for water, green for forest or lowland, brown or yellow for higher land. Colour in one direction with gentle, even pressure.
- Add the map parts. Every good map has a title, a north arrow, a key (legend) explaining symbols and colours, and a scale if you know it.
- Label neatly. Write place names in small, clear capitals. Keep labels horizontal where you can, so they are easy to read.
How to draw neat labelled diagrams
- Draw large. A diagram should fill a good part of the space. Tiny diagrams are hard to label.
- Use clean single lines. Avoid sketchy, hairy lines. Draw each line in one smooth stroke.
- Plan label positions. Put labels on one or both sides of the diagram, lined up in a neat column.
- Use a ruler for label lines. Label lines should be straight, should not cross each other, and should touch the exact part you are naming. Do not add arrowheads unless your teacher asks for them.
- Add a title. Write what the diagram shows, and add the magnification or view if your subject needs it.
- Pencil or pen? Many teachers ask for science diagrams in pencil so mistakes can be fixed. Follow your teacher’s instructions for each subject.
For more on rulers, compasses and drafting, read Technical Drawing Tools Guide. To choose pen sizes, see Sakura Pigma Micron Sizes Guide.
Tips for neat maps and diagrams for school projects
- Plan the page. Leave space for a heading, the map or diagram, the key and any notes.
- Let ink dry. Wait a minute before erasing pencil lines under ink, so you do not smear it.
- Use the same style throughout. Keep the same lettering size, pen and colours for all maps in one project.
- Protect your work. Humid weather can make paper curl. Store project pages flat in a folder.
Common mistakes
- No key, title or north arrow on a map.
- Colouring too hard, which makes labels difficult to read.
- Label lines that cross or end in the wrong place.
- Writing labels at different angles all over the page.
For choosing the right sheets, see Paper for School Projects and Posters.
Frequently asked questions
Which fineliner size is good for maps?
A 0.35mm pen (size 03) suits outlines on A4 pages. Use a finer 0.25mm pen (size 01) for rivers, roads and small labels.
Can I colour over fineliner ink?
Yes. Pigma Micron ink is waterproof once dry, so you can use colour pencils over it. Give the ink a minute to dry first.
Do you deliver islandwide?
Yes. We deliver across Sri Lanka in 2–5 working days, with cash on delivery, card or bank transfer. You can also visit our shops in Boralesgamuwa and Horana, open every day from 9 AM to 6 PM.
Not sure what to choose? Call / WhatsApp the Haanz team on 0711 515 515 and we’ll help you find the right pens and tools for your school project.
More Haanz Art Guides
 Art Journaling for Beginners: Ideas, Supplies and Page LayoutsRead the guide →
 Resin Rings, Bangles and Hair Clips: Mould GuideRead the guide →
 How to Paint a Sea and Beach Scene in AcrylicRead the guide →
 Storing Art Supplies in Humid Weather: Keep Paper and Paint FreshRead the guide →
