

School Model Making: Materials and Tips for Projects

A volcano, a model house, a solar system or a village scene: models are a big part of school projects in Sri Lanka, from primary classes to science and geography work. Good school model making is less about expensive materials and more about planning, neat cutting and careful gluing. This Haanz Art Guide explains which materials to use, how to build a model step by step, and the tips that help your project look neat on the day you hand it in.
Plan before you build
Read the project brief carefully and check what your teacher allows, including the size of the model, the materials and whether parents can help. Then:
- Draw a simple sketch from the front and from above, with rough measurements.
- Decide on a scale, for example 1cm on the model for 1m in real life, and write it on your sketch.
- List each part of the model and the material you will use for it.
- Leave time for paint and glue to dry. Start at least a week before the due date.
Materials for school model making
- Base. A firm board such as Art Board – 310GSM 25×40 keeps the model flat and easy to carry.
- Light building material. Foam Sheet – 2mm A4 Size is easy to cut for walls, roofs, leaves and signs.
- Frames and poles. BBQ 10 sticks Pack – 19.5cm work as poles, fences, bridges and planet stands.
- Shapes and landforms. Art Rangers Air Dry Modeling Clay 500g-White is good for hills, people, animals and volcanoes, and you can paint it once dry.
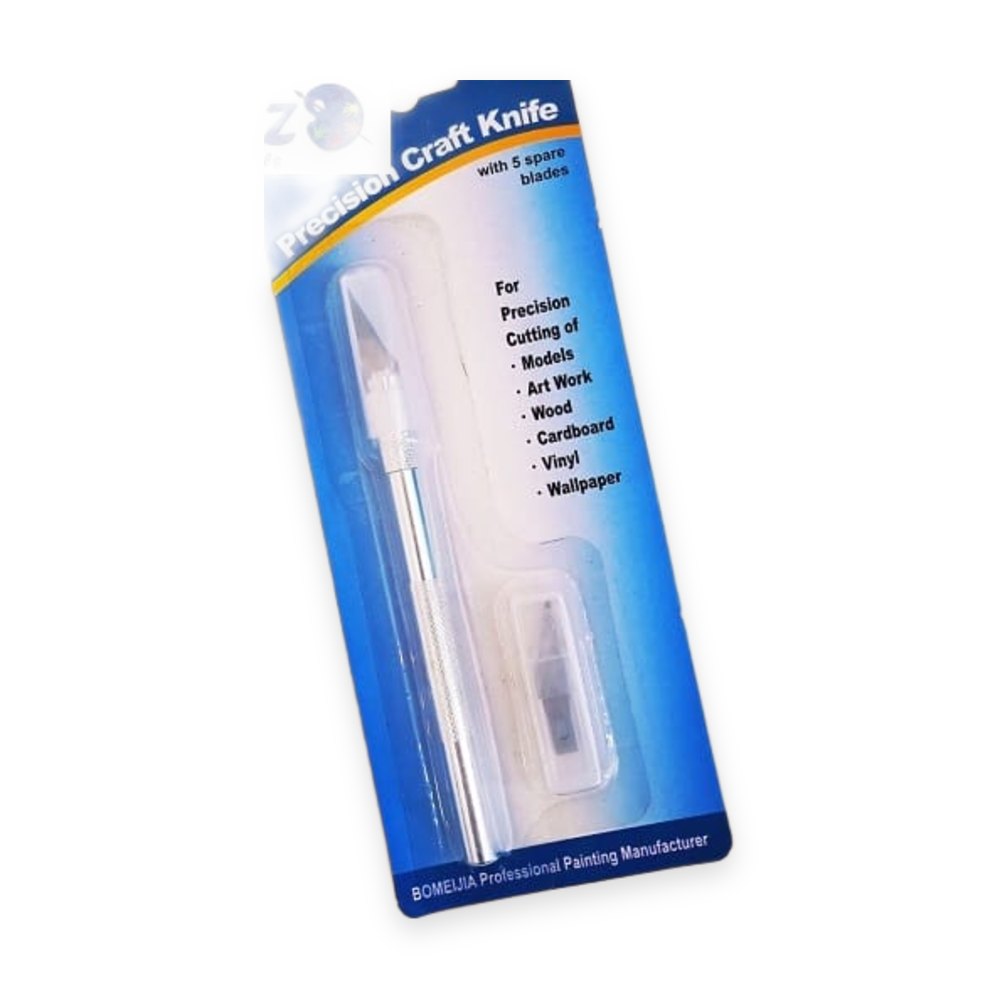
- Cutting. A Detail Pen knife set and a Cutting Mat – 45x30cm give clean edges and protect the table.
- Gluing. A Hot Melt Glue Gun 20W – Small with Hot Glue Gun Sticks – 5 pack gives quick, strong joins. Check that the stick size suits your gun.
- Colour. Camlin Fabrica Acrylic 15ml -White (478) makes a good base coat over clay and card before adding colours.
Find more in Other Crafting Materials and Polymer Clay, Modeling Clay. Prices change, so see each product page for today’s price.
How to build a school model, step by step
- Mark the layout. Lightly draw where each part will go on the base board in pencil.
- Cut the main parts. Place the material on the cutting mat and use a ruler as a guide. Make several light cuts instead of one hard cut.
- Build the biggest parts first. Fix walls, hills or the main structure to the base before adding small details.
- Join with care. Use a small line of hot glue and hold each joint for a few seconds until it sets.
- Shape clay parts. Model clay features, then leave them to dry fully before painting. Turn them over so the underside dries too.
- Paint. Paint a white base coat first, then add colours. Let each layer dry.
- Add labels. Print or neatly write labels and fix them on sticks, so the examiner can see each part clearly.
- Check and clean. Remove glue strings, touch up paint and make sure nothing is loose.
Tips for a neat project
- Keep the colours realistic for science and geography models, and bright for creative projects.
- Hide glue joints behind or under parts where possible.
- In humid weather, card and paper can bend. Fix them firmly to the base and store the model in a dry place.
- Carry your model in a box on the way to school, so small parts do not break.
- Take a photo of the finished model, in case anything is damaged later.
Safety for students
Craft knives and hot glue guns should always be used with an adult nearby. Cut away from your hand, close the blade after use and never leave a hot glue gun switched on without someone watching it. Hot glue can burn skin, so keep a bowl of cool water close by.
Read Craft Knife Guide, Hot Glue Gun and Craft Glue Guide and Paper for School Projects and Posters for more help.
Frequently asked questions
What is a good base for a school model?
A firm board is a good choice because it stays flat and holds the weight of clay and glued parts. Make it a little bigger than your model so labels fit around the edge.
How do I make a model volcano?
Build a cone shape with clay around a small cup on your base board. Let it dry, paint it brown and grey, then add red and orange paint flowing down from the top.
Do you deliver islandwide?
Yes. We deliver across Sri Lanka in 2–5 working days, with cash on delivery, card or bank transfer. You can also visit our shops in Boralesgamuwa and Horana, open every day from 9 AM to 6 PM.
Not sure what to choose? Call / WhatsApp the Haanz team on 0711 515 515 and we’ll help you choose the right materials for your school model project.
More Haanz Art Guides
 Acrylic Retarder: How to Slow Down Acrylic Paint DryingRead the guide →
 Student Acrylic Sets Compared: Camel Artist and Marie’sRead the guide →
 How to Make a Resin Wall Clock: Moulds, Numbers and MovementRead the guide →
 Rainy-Day Art and Craft Ideas for KidsRead the guide →
