

How to Draw Flowers Step by Step

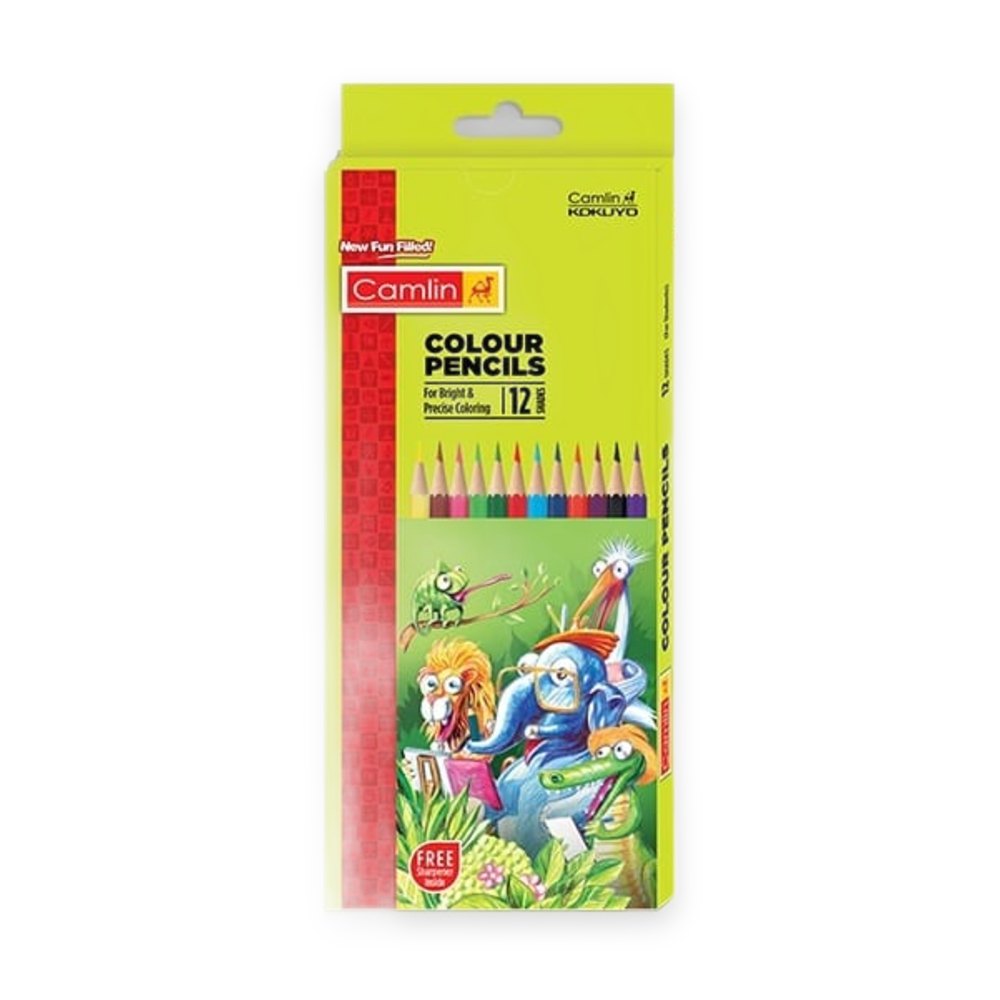
Flowers are one of the most popular subjects for school art, greeting cards and sketchbooks, and Sri Lanka has plenty to draw, from hibiscus and lotus to frangipani and roses. Learning how to draw flowers is easy when you start with simple shapes. This Haanz Art Guide shows you the supplies to use, a step-by-step method in pencil, and how to add colour with colour pencils.
What you need
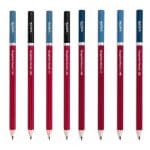
- A pencil for sketching: the Graphite Drawing Pencil is sold individually. An HB for light lines and a 2B or 4B for shading are enough.
- Colour pencils: the Camel Colour Pencil Set, 12 gives bright, smooth colours to start with. For more greens and pinks, step up to the Camel Colour Pencil Set, 24. The Pentel Arts Colour Pencils, 12 colours apply smoothly and blend easily.
- An eraser: a soft Mont Marte Artist Eraser, Small removes guide lines without damaging paper.
- Paper: the Bomega Sketch Pad A5 is handy for daily flower sketches, and Fabriano Accademia Paper A4 175gsm is good for finished colour work.
- Optional outline pen: a Sakura Pigma Micron 03 (0.35mm) gives clean, waterproof outlines for card designs.
See all sets in Colour Pencils. Prices change, so see each product page for today’s price.
Start with simple flower shapes
Almost every flower fits one of a few basic shapes:
- Circle: daisies, sunflowers and frangipani seen from the front.
- Cup or bowl: tulips, lotus buds and roses from the side.
- Cone or trumpet: lilies, hibiscus from the side, and morning glory.
- Star: five-petal flowers, like many small wildflowers.
Find the shape first, then add petals inside it. This keeps the flower balanced.
How to draw flowers step by step
Here is a simple five-petal flower, such as a frangipani, which suits a beginner.
- Draw a light circle. With an HB, draw the outer size of the flower. Add a small circle in the centre.
- Divide the circle. Draw five light lines from the centre to the edge, like slices of a cake. These are the centre lines of the petals.
- Shape the petals. Around each line, draw a rounded petal shape. Frangipani petals overlap a little and twist, so let each petal tuck slightly under the next one.
- Add the stem and leaves. Draw a curved stem. Leaves are long ovals with a centre vein. Let some leaves bend or turn so they do not look flat.
- Refine and erase. Darken the lines you want to keep and erase the guide circle and lines.
- Shade. Decide where the light is. Shade the parts of the petals near the centre and where petals overlap, using a 2B. Petals are thin, so keep shading soft.
Adding colour to your flower drawing
- Light layer first. Colour each petal with light pressure. For a frangipani, use pale yellow near the centre and leave the outer petals white or very pale.
- Build depth. Add a second colour in the shadow areas, for example light orange near the centre, or a darker pink for a rose.
- Blend. Layer the two colours where they meet with gentle circles until the change looks smooth.
- Leaves. Use two greens: a light green all over, then a darker green along one side of the vein for shadow.
- Final touches. Press a little harder in the darkest areas and leave small white spots of paper for highlights.
Tips and common mistakes
- Draw from real flowers whenever you can. A flower from your garden changes shape as it wilts, so take a photo too.
- Do not make every petal the same size. Nature is not perfect.
- Avoid dark outlines around every petal. Let colour and shading show the edges.
- Colour pencils work better in thin layers than in one heavy layer.
- Keep your sketchbook closed and dry, as humid air can make paper wavy.
Want to try paint? Read Botanical Watercolour: Flowers and Leaves. For colour pencil basics, see Colour Pencils for Beginners.
Frequently asked questions
What is the easiest flower to draw for beginners?
Simple five-petal flowers and daisies are easiest because they fit inside a circle. Try roses and lotus after you are comfortable with layered petals.
Should I outline my flower drawing in pen?
It is your choice. A thin pen outline gives a neat, graphic look for cards. For a softer, realistic look, let colour and shading show the edges instead.
Do you deliver islandwide?
Yes. We deliver across Sri Lanka in 2–5 working days, with cash on delivery, card or bank transfer. You can also visit our shops in Boralesgamuwa and Horana, open every day from 9 AM to 6 PM.
Not sure what to choose? Call / WhatsApp the Haanz team on 0711 515 515 and we’ll help you choose colour pencils and paper for flower drawing.
More Haanz Art Guides
 School Model Making: Materials and Tips for ProjectsRead the guide →
 Erasers for Drawing: Kneadable, Eraser Pens and Blending StumpsRead the guide →
 Glass and Rock Painting for Beginners: Paints and PensRead the guide →
 Single Drawing Pencils: Build Your Own Grade SetRead the guide →
